This is a real fact: it is never easy for your gorgeous clients to choose their make-up, as there is a huge variety of colors and styles they can go for.
Many makeup artists use a before and after photo album as an inspiration for their clients, but there’s a new method trending out there: paper face charts. Besides the fact that it is a revolutionary method, using makeup artist face charts is also a great marketing idea for makeup artists.
A makeup artist's face chart is a drawing of a face printed on a special kind of paper that absorbs pigments well, letting you create a mockup of your makeup application technique. Well, if you want to create a bridal trial or a color guideline, a face chart is a perfect choice, as you can display better the desired look to any client or team of makeup artists.
Furthermore, it can be a great archiving tool that allows you to keep track of all the products and color combinations you use.

Because they are neutral, the makeup you see on a paper face chart can be adapted to any skin color or face shape. Showing your client a portfolio of before and after pictures to decide what makeup look they’re looking for can be misleading in some situations.
People tend to think they love a certain look when they might actually love certain features of the person in the photograph. The same exact makeup might look different from person to person, due to each person’s particular features. It’s always recommended to choose a makeup look to enhance the bone structure and features of your client.
Tip: Did you know that by using a makeup artist appointment software, you can gain more time practicing your craft and less time scheduling appointments? Apps like Goldie let you manage your appointments easily, collect deposits and payments from clients, send automated reminder messages, and allow clients to book makeup appointments online. And trust me, there's no blessing in the world like having all your appointments in your online calendar effortlessly. You can download the app for free in the App Store or Google Play.
The main thing you need to pay attention to is the quality of paper: if you print the makeup face chart at home, you should buy a matte, watercolor, or resume paper, as the normal one may be too shiny and slick to allow the color to set properly.
Keep things step by step: first of all, choose the products you want to use while making your face chart template. After preparing your products and brushes, let’s move to color your face chart.

Choose a light color and go around the contour of the face chart with circular motions. After that, continue with a darker powder to color the rest of the face. Then, choose a brown and start contouring the nose and the cheeks. Important: do not color the T-zone of the face chart. It must stay clean to give a highlight to your makeup. Don’t forget to make notes to keep track of your foundation and contouring products. Pencils and gel liners are ideal for lining and defining different shapes, for example, the eyes or nose contours.

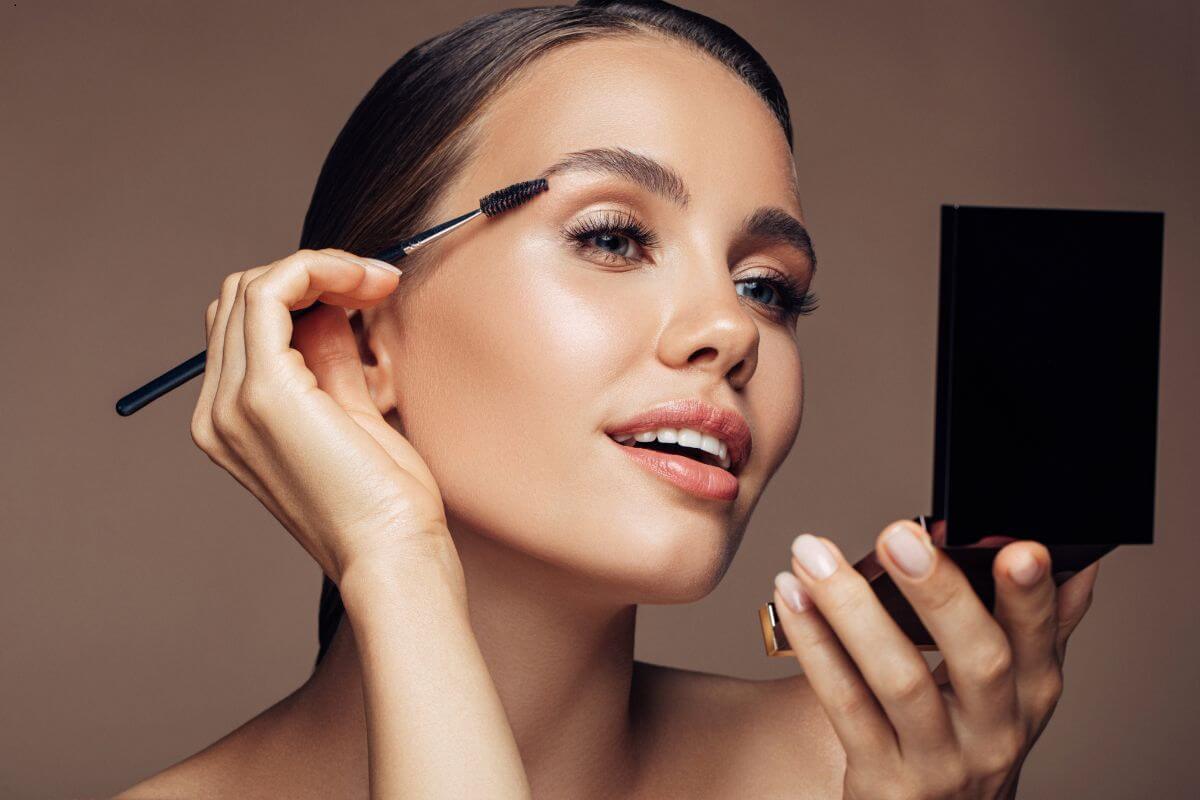
After you’ve finished contouring the face, start creating the eyebrows. Pay attention to the instruments you use if you want to give them a realistic look. Personally, I prefer using a normal brown pencil and professional eyebrows powder.

For the eyes, I’d recommend starting with a soft brown, as it is a transition color that fits best a makeup artist's face chart. Highly pigmented eye shadow or powder products work best for depositing color and allowing bendability. Small, firm, dense brushes work best to apply and blend the color on the chart. Create the eye shadow you prefer, and then move to the eye color. Try to use pencils that can give a very realistic look to the pupil, and highlight with a white liquid liner the light shadow in the pupil.

As for myself, the most difficult part in creating a makeup artist's face chart is painting the eyelashes: you need to use a very soft pencil or eyeliner and be very careful about how hard you push on the paper while contouring it. After you’ve successfully done this too, it’s time to move to the best part: the lips.

First of all, create the lip contouring with a brown tone. Then, apply the lip color you wish. You can do it with a pencil or with real lipstick; it depends on your preferences. After you apply the lip color, create some shadows with a white liquid liner to make them look even more realistic. In the end, set your face chart with hair spray for transfer-proof permanence. And...here you have your awesome makeup face chart ready by following just a few steps. If you want to discover what’s the importance of a detailed face chart from an expert in the makeup industry, this article might be a good source of inspiration for you.
You can get inspired about the technique in this video:
Your makeup artist's face chart is much more than just a client-based tool. It turns into a canvas for expression, creativity, and talent. It turns into a place where you can explore your own artistry.
Now, more than ever, you can create without any limits and go for some new ideas. The biggest advantage? If you don't like one, you can always print another face chart and start with some fresh ideas. There are no rules; that's the magic of it!

.webp)