Imagine someone finds your business on Facebook, loves what they see, and is ready to book, only to realize there’s no easy way to do it. Missed opportunity, right? That’s where the “Book Now” button comes in. It’s a simple yet powerful tool that turns interest into action by letting clients schedule appointments directly from your Facebook page. As a beauty pro, adding this button can seriously boost your bookings.
In this guide, we’ll walk you through exactly how to set it up, step by step, no tech skills needed.
According to statistics, 76% of clients use mobile devices to book appointments. But, did you know that online booking reduces staff labor by doing the administrative work for them?
Having an online booking system linked to your Facebook page comes with a set of advantages for your business, such as:
In this article, you’ll find out how to activate the “Book Now” button on Facebook and sync it with your appointment scheduling system.
To get the “Book Now” button on Facebook, you must follow a few easy steps.
First of all, you have to use an appointment scheduling app that is an official partner of Facebook (to appear in the list). Second, customize your online booking page. Here’s how to create an online booking system in the Goldie app from scratch.

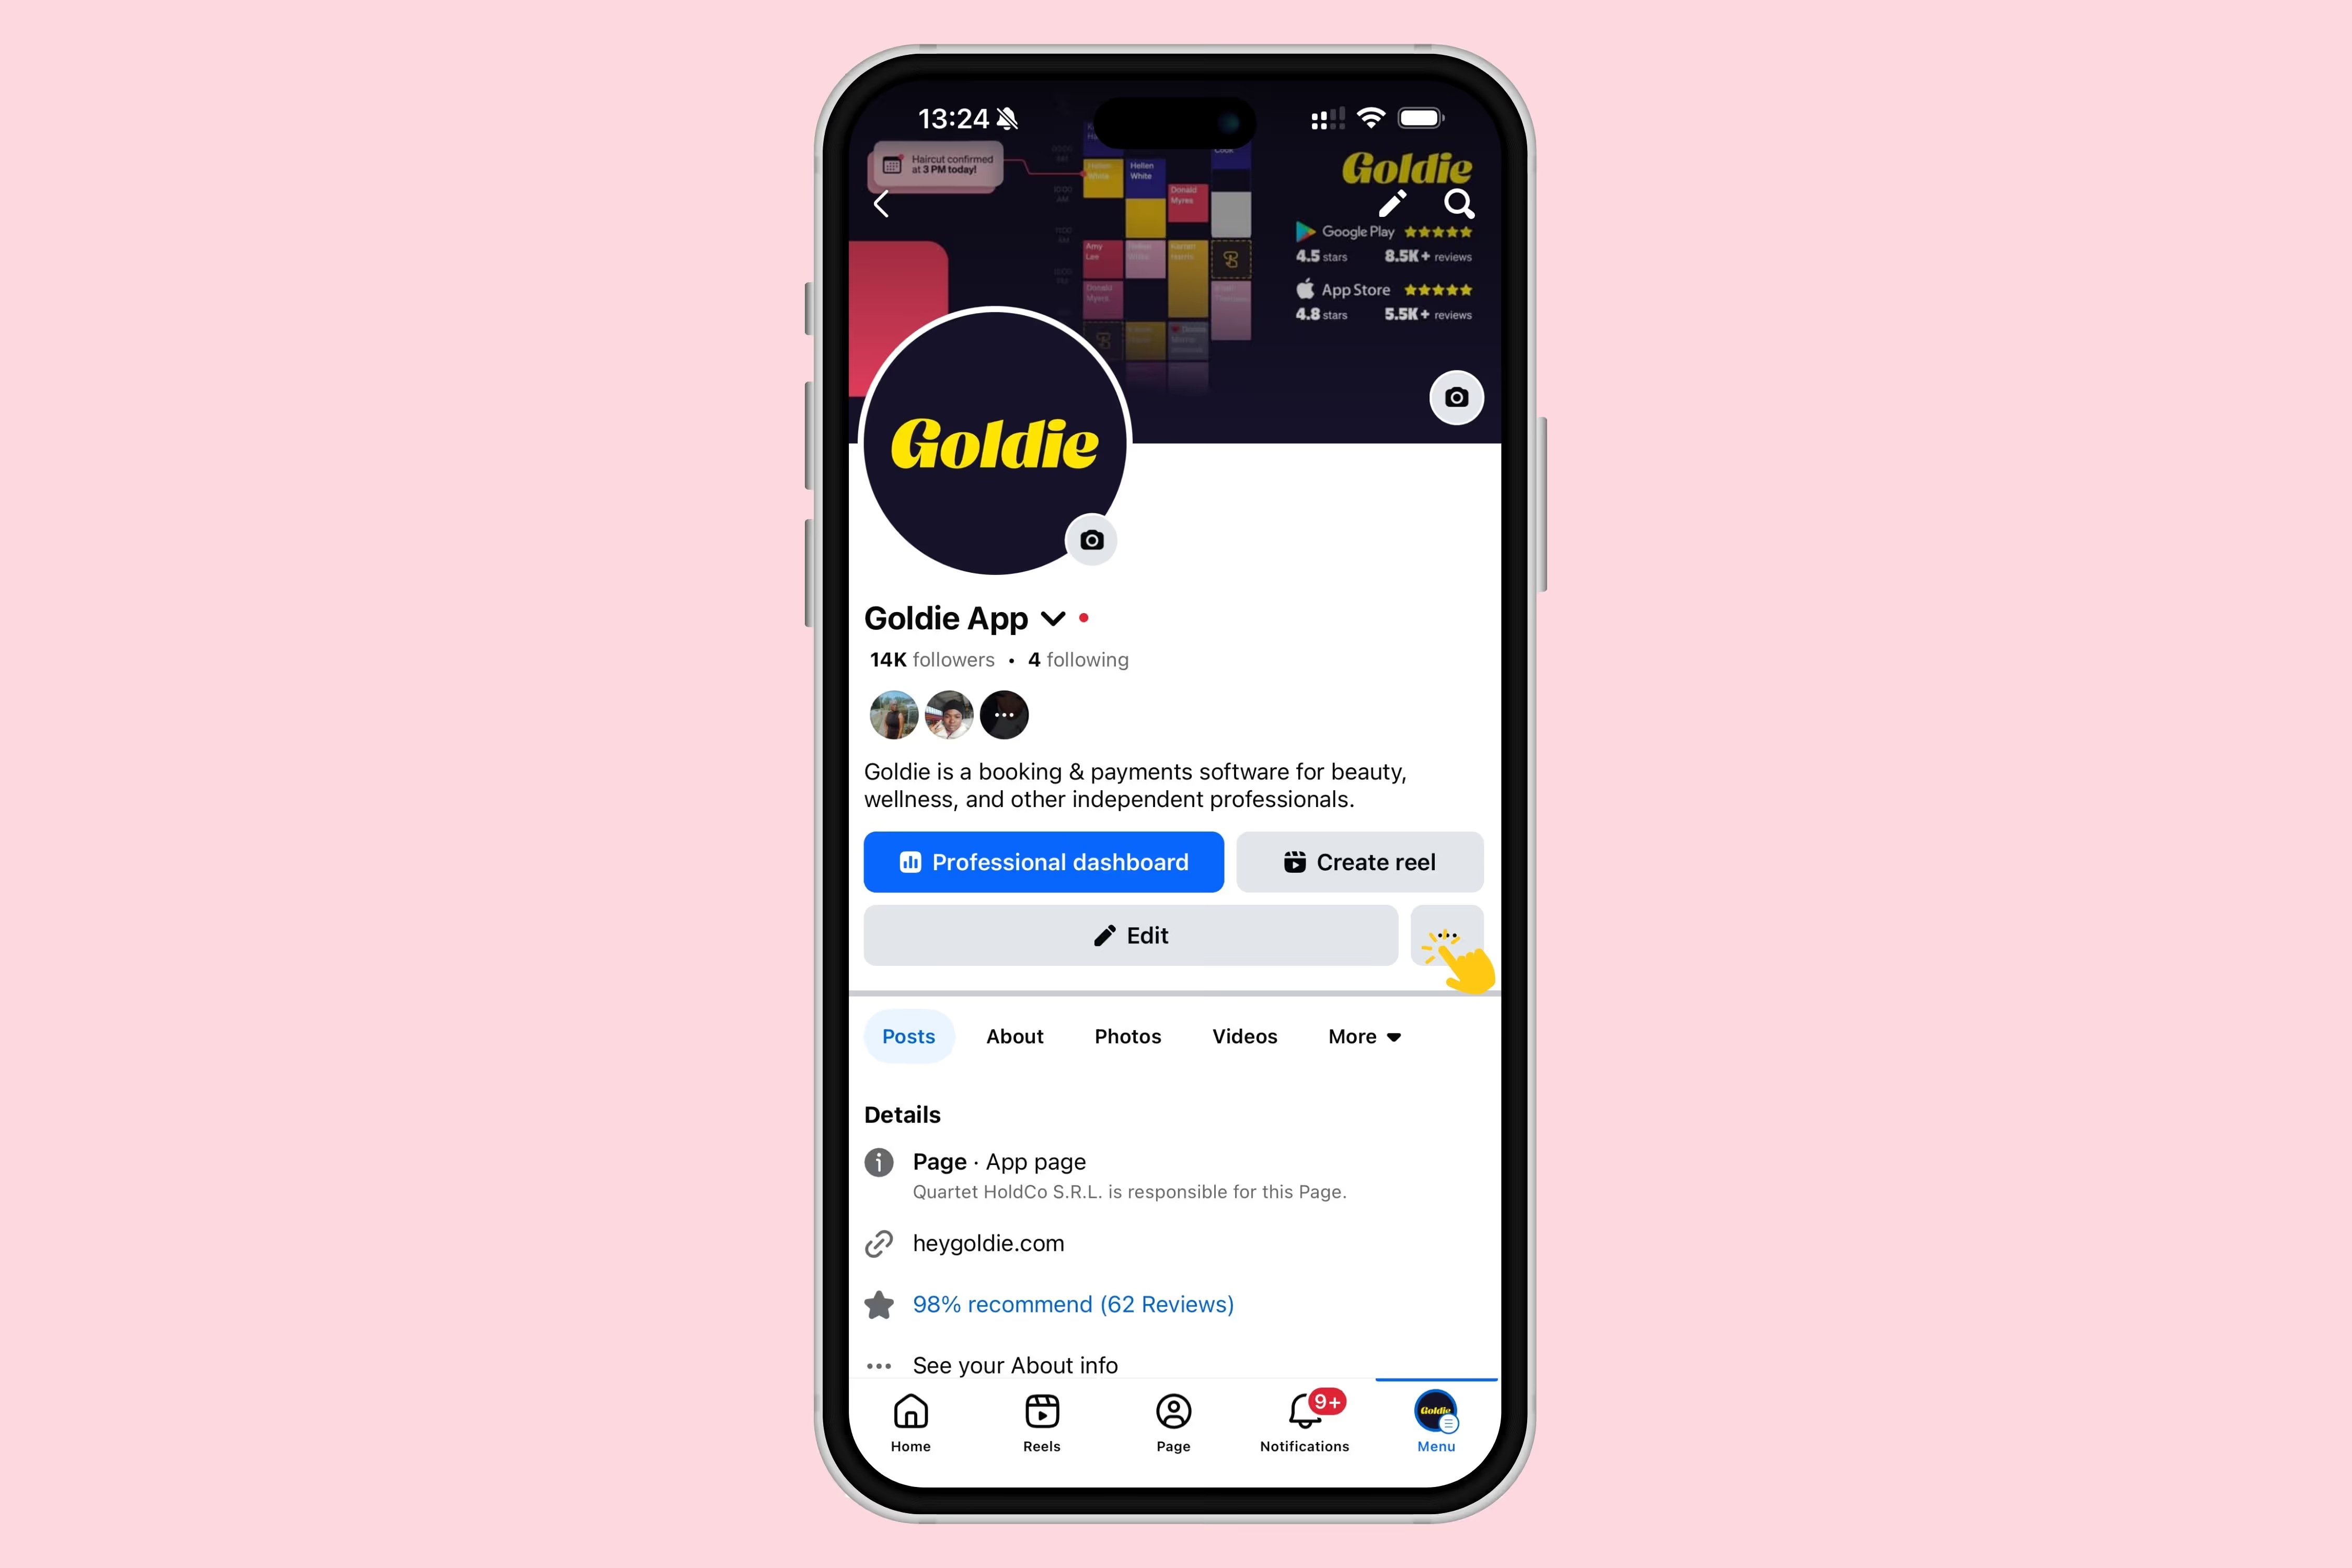
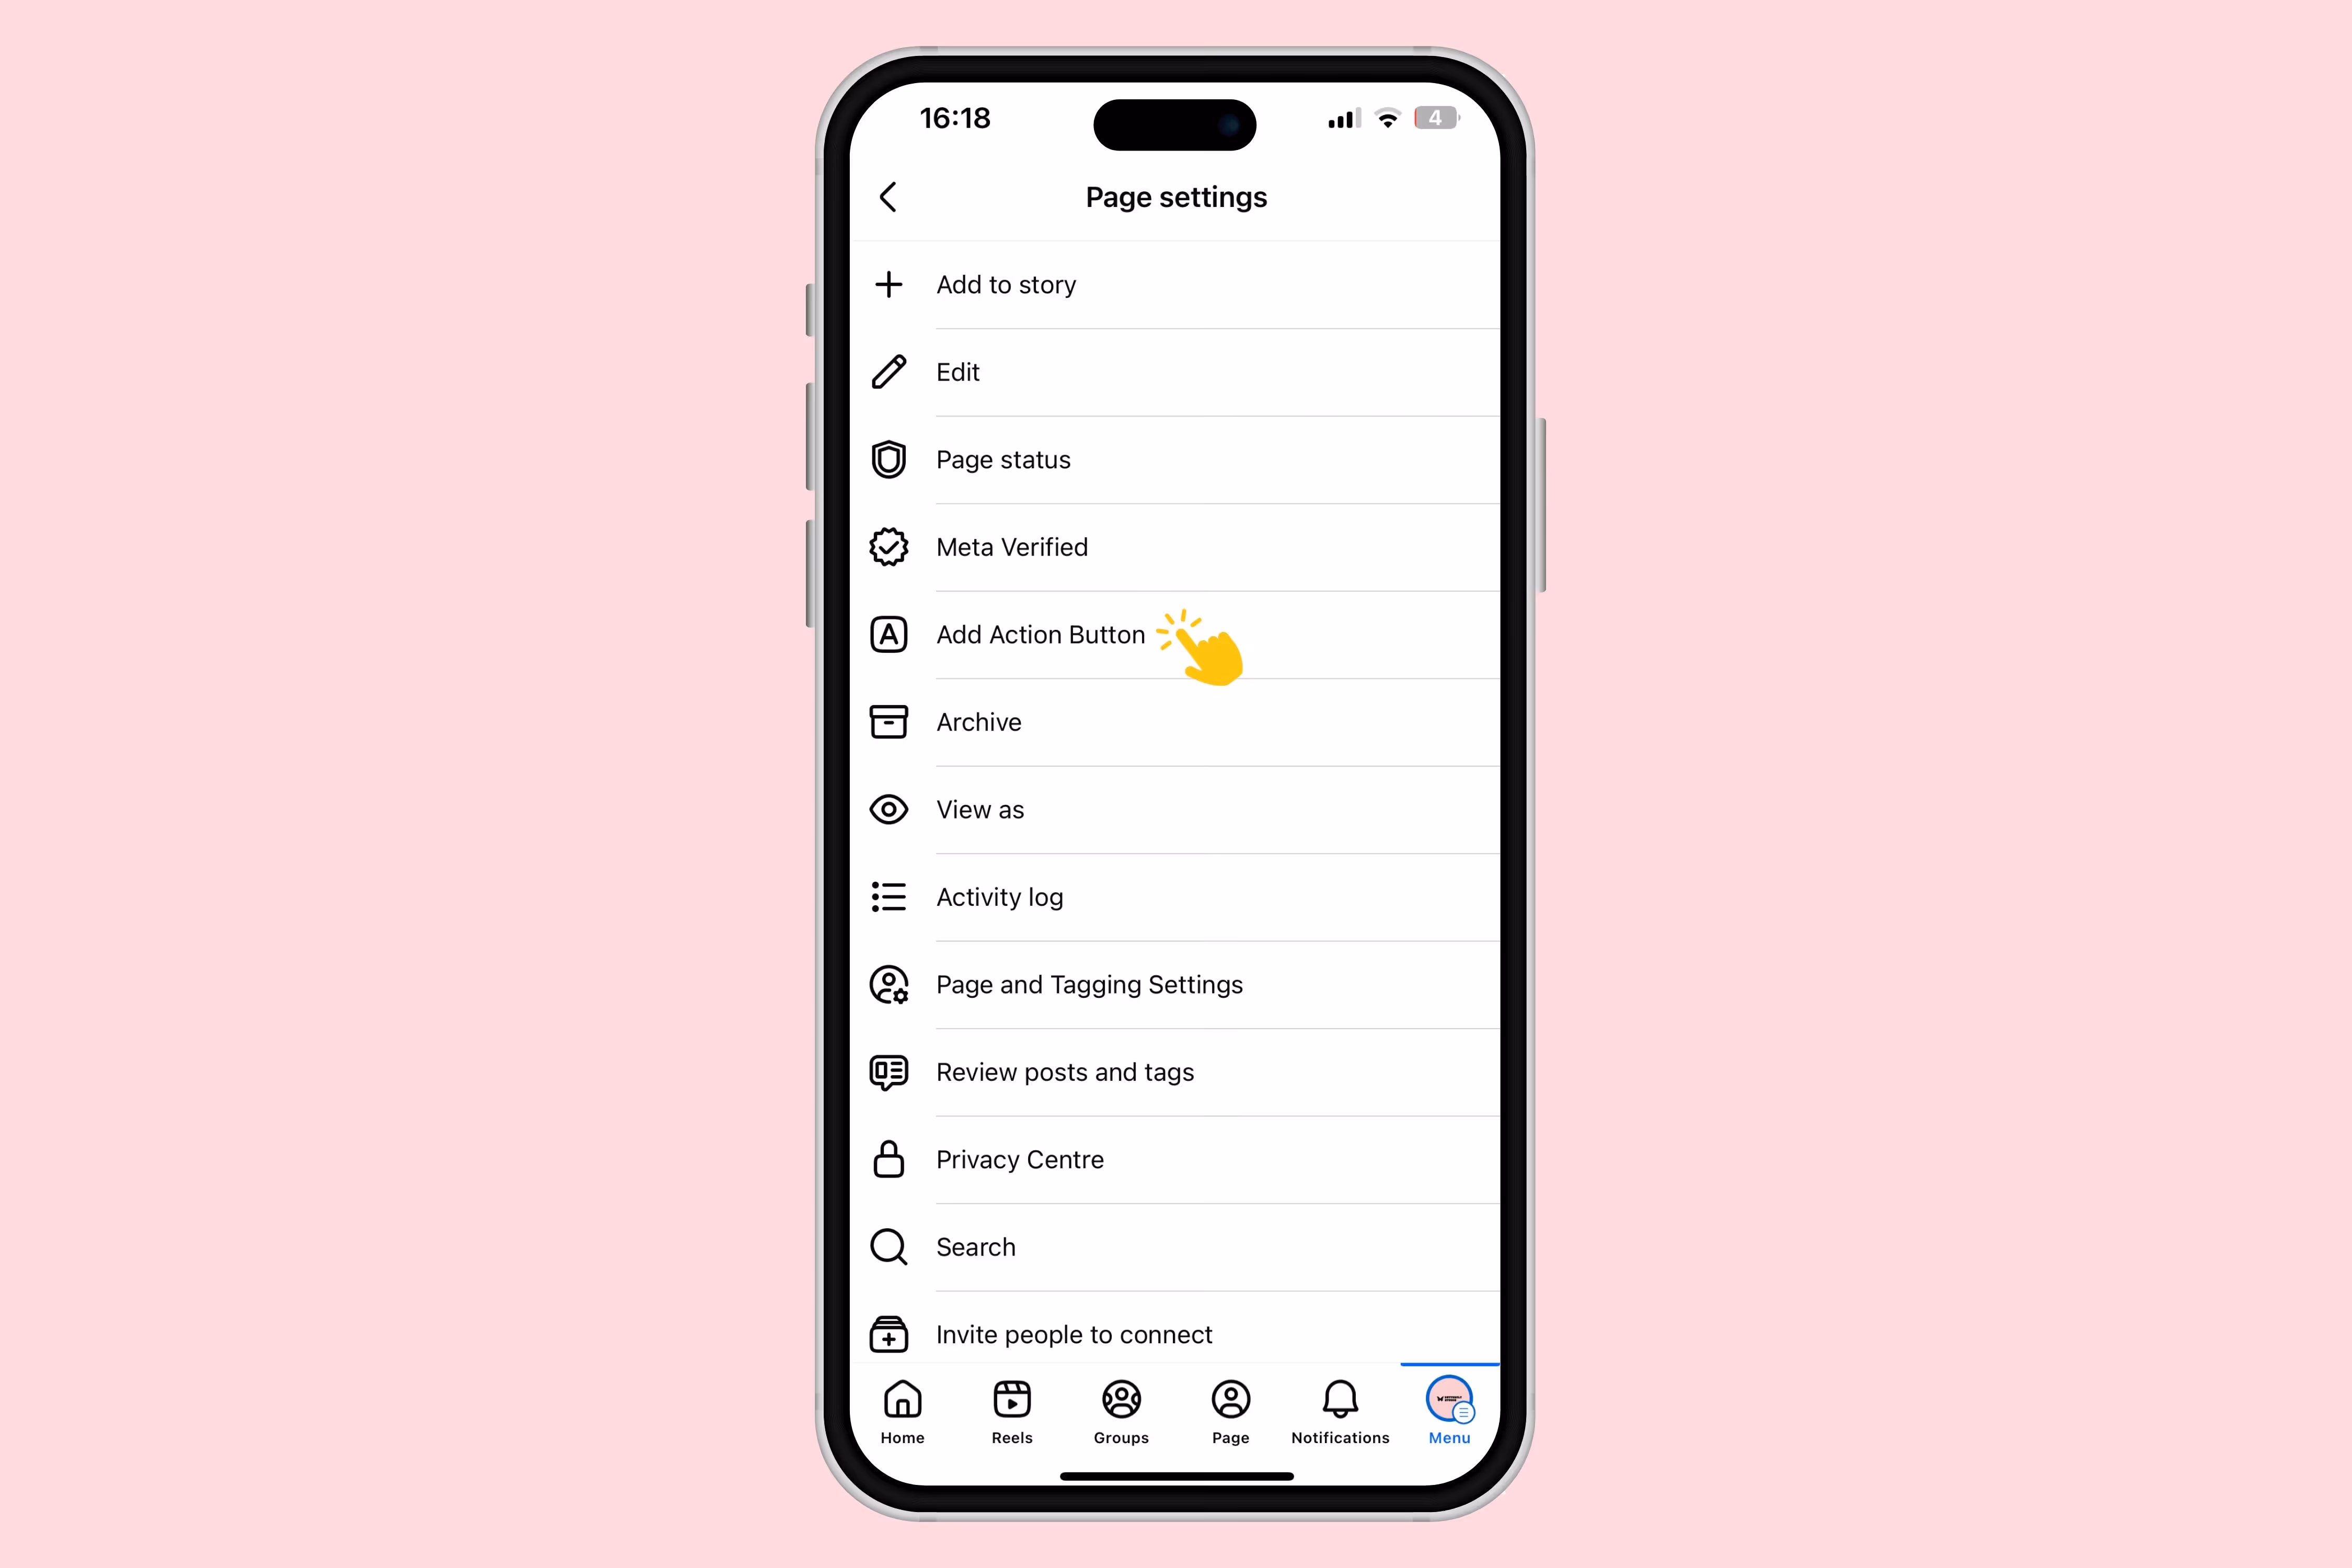
Open the Facebook app, and navigate to your business's page. Then, tap the button with 3 dots.
Select the option to "Add Action Button".
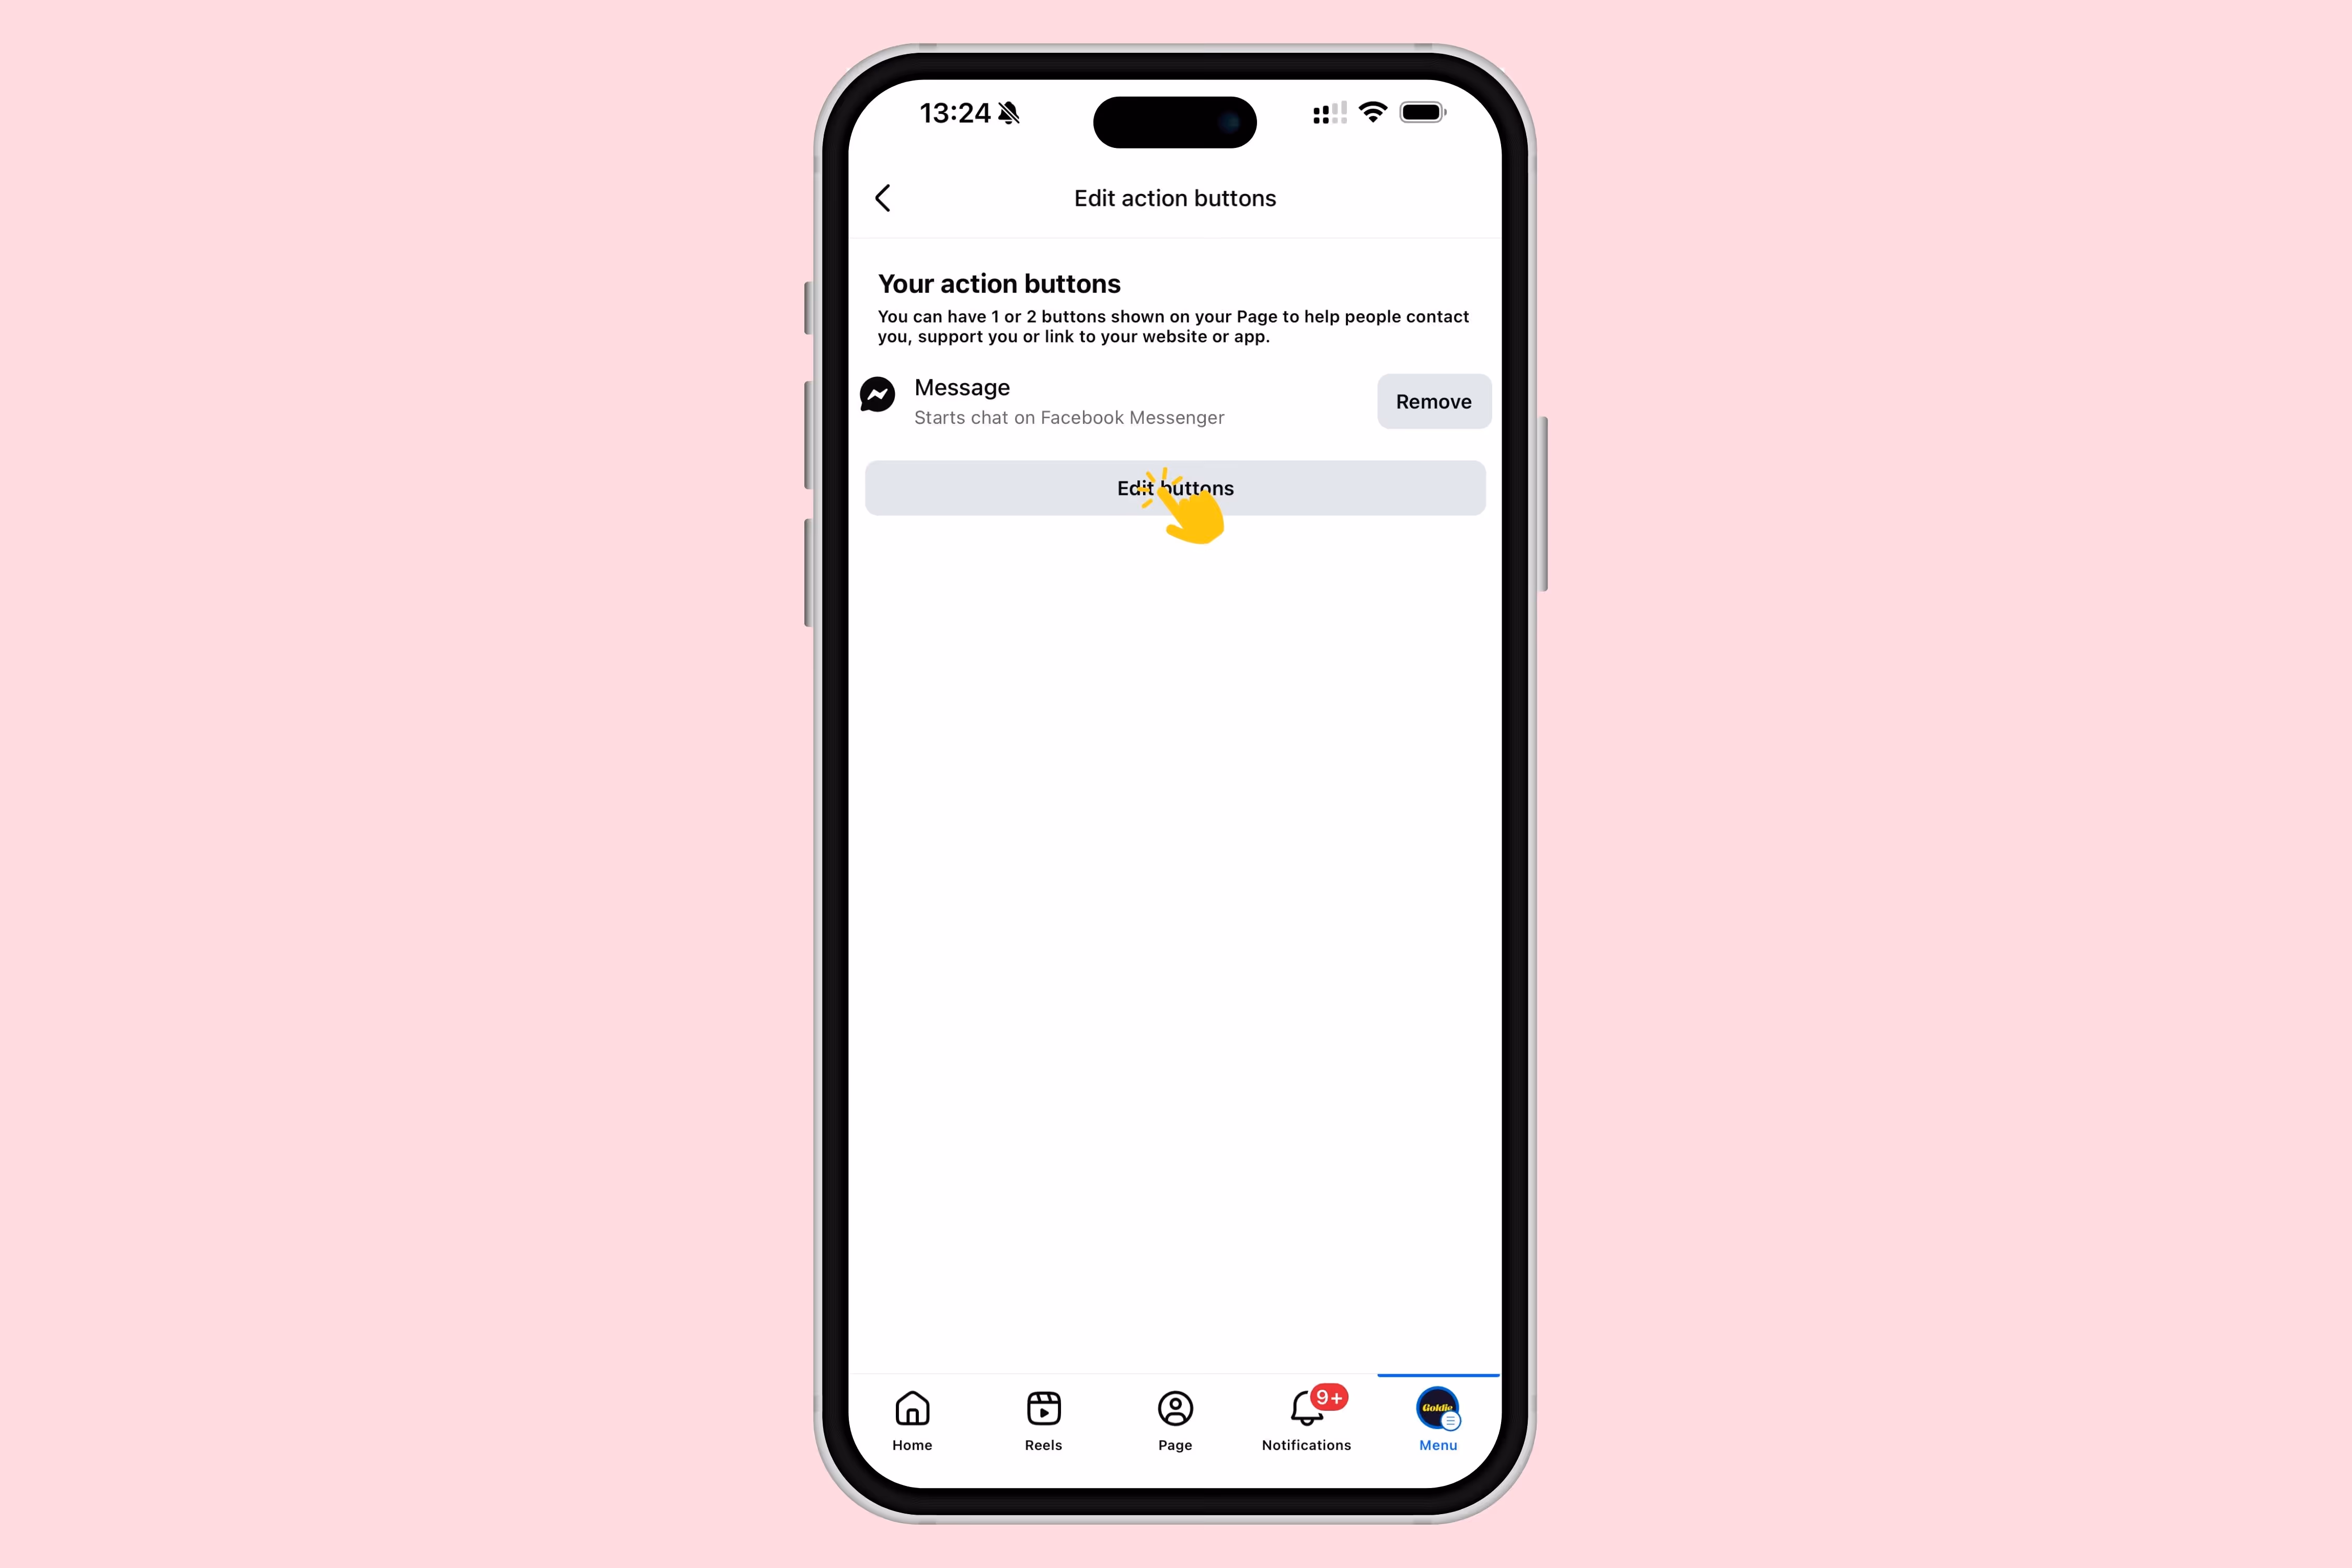
Then, tap on "Edit buttons".
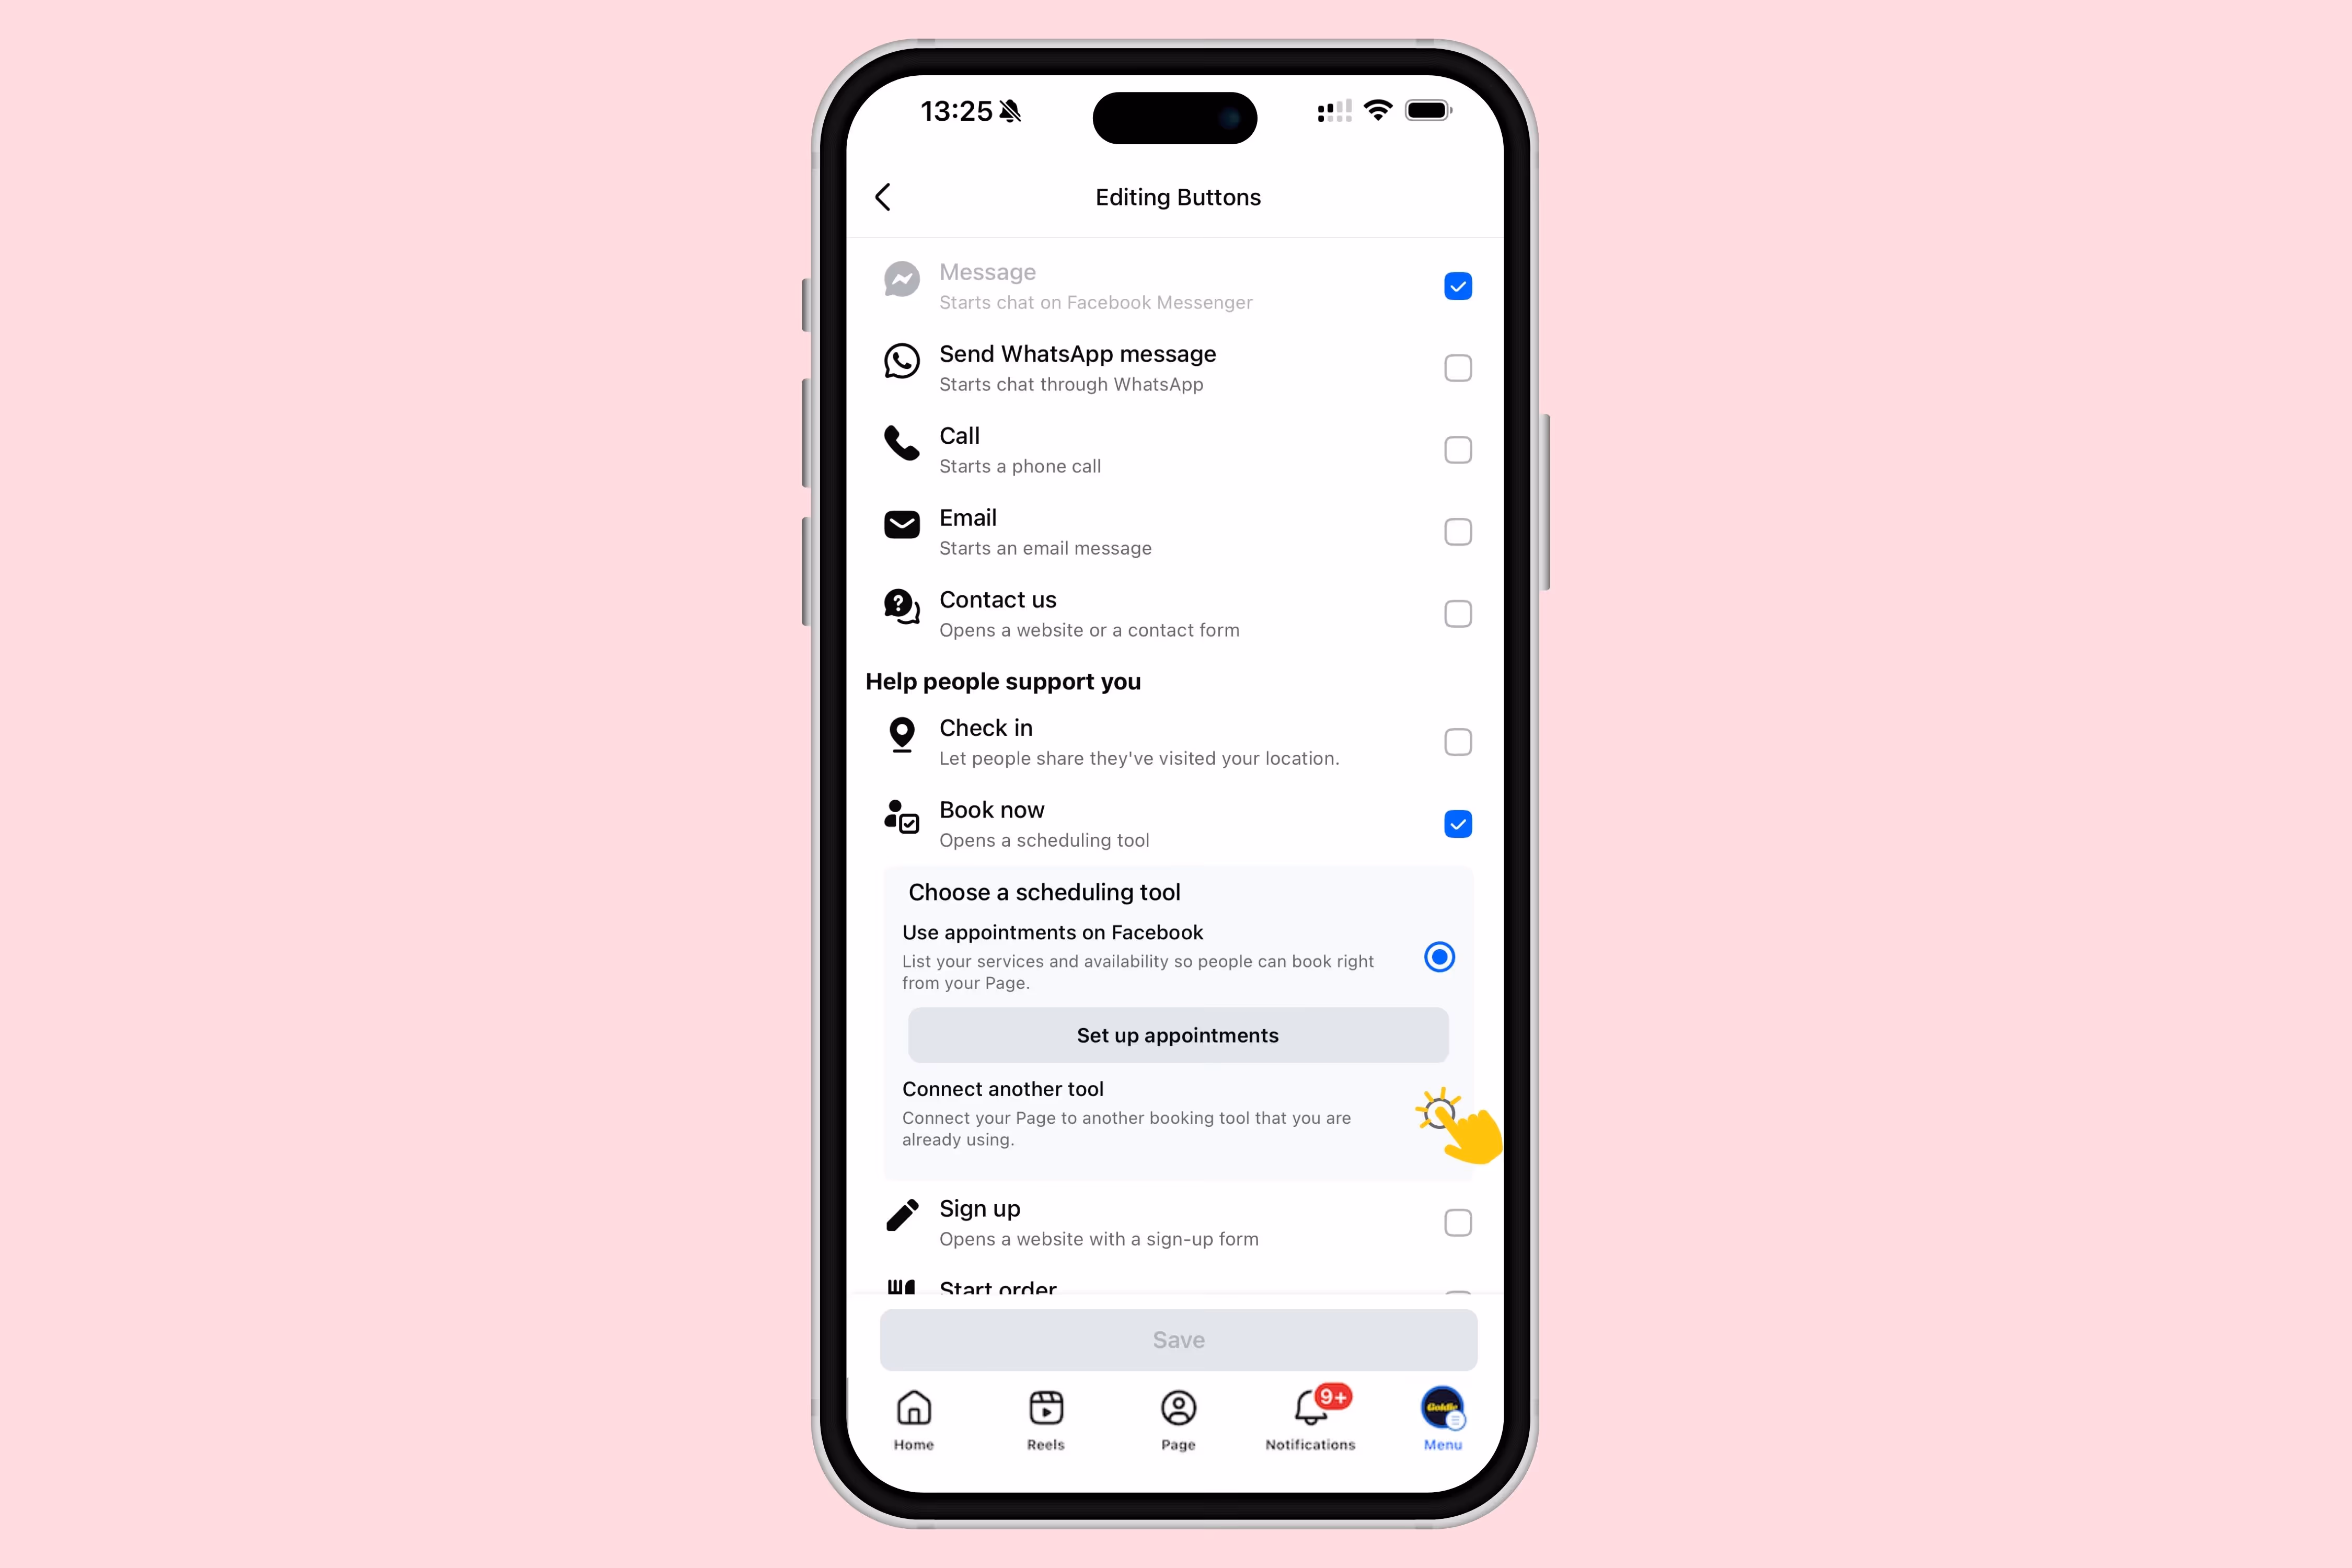
Check the box next to the "Book Now" option.

Then, choose "Connect another tool" and click on the gray button (Connect another tool).
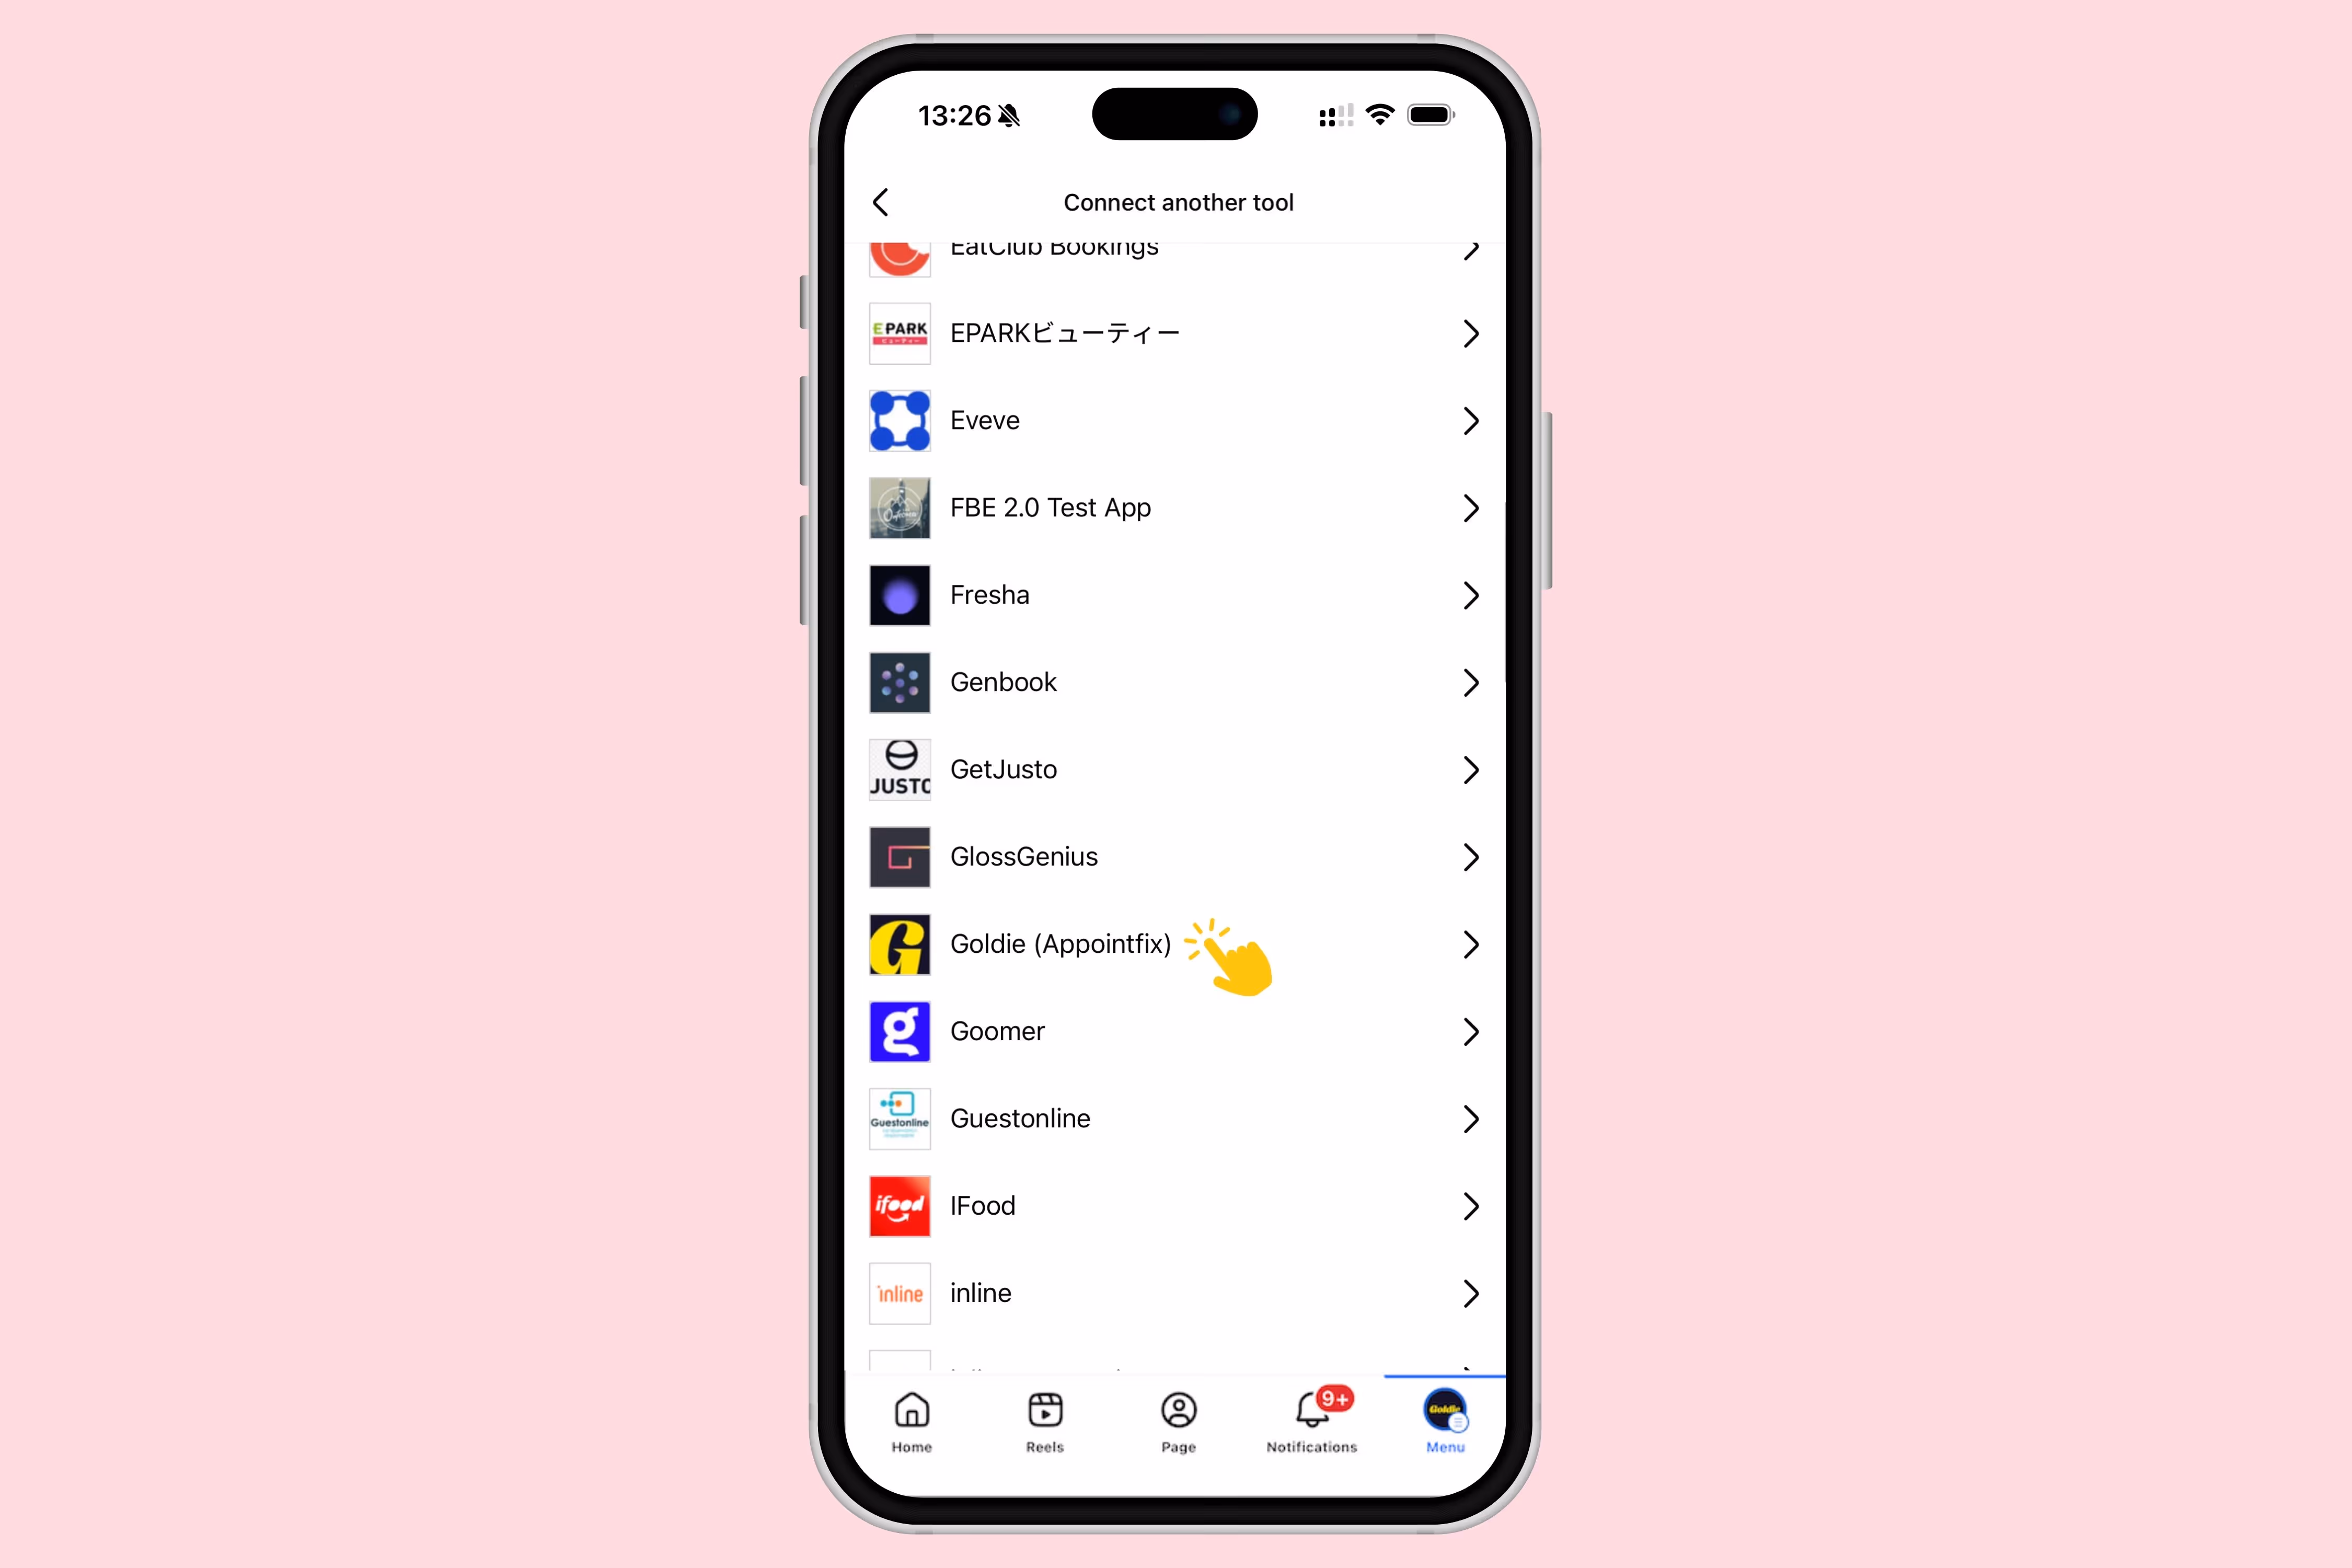
Scroll down the list and tap on "Goldie (Appointfix)".
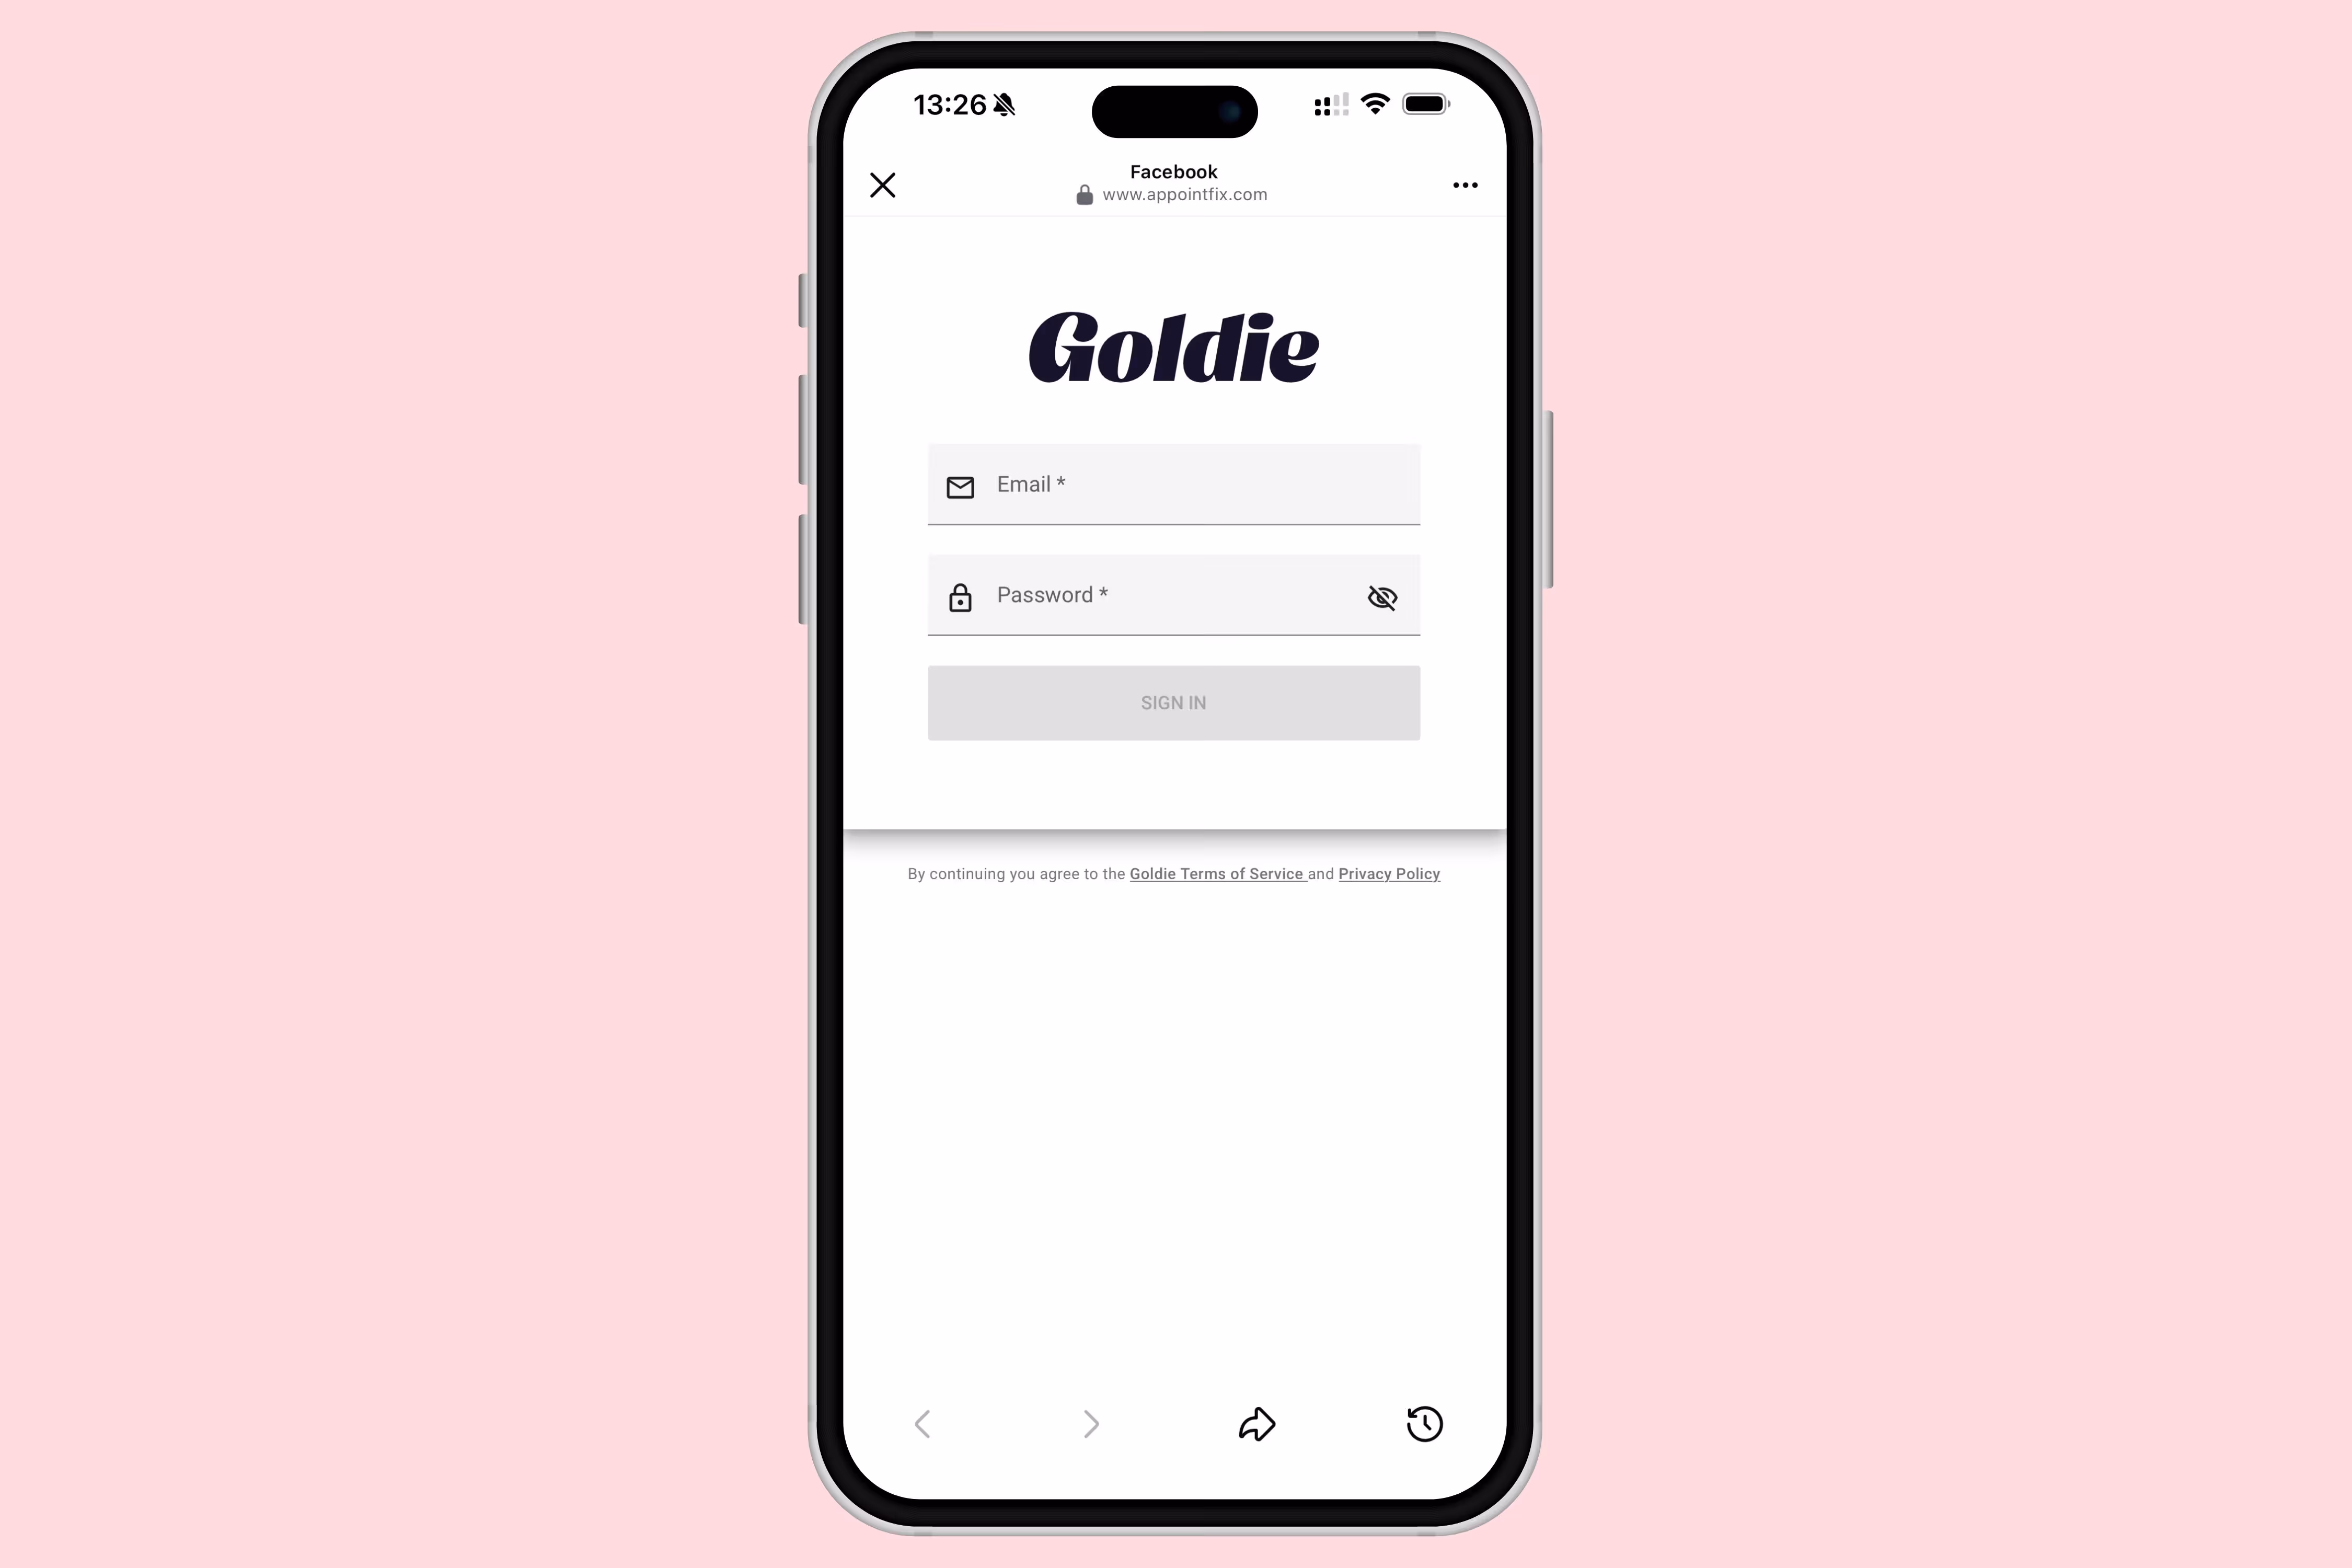
Tap "Continue" after you're presented with the permissions. Then, log in to your Goldie account using your email and password.
Now, you’re all set. Your Facebook “Book Now” button linked to your Goldie account is ready to use.
After you activate your Facebook “Book Now” button, I would recommend creating a Facebook post in which you can encourage people to book appointments with you directly through the button. Happy scheduling everyone! 🎉

.webp)